Your Airpods Went From Awesome to WTH
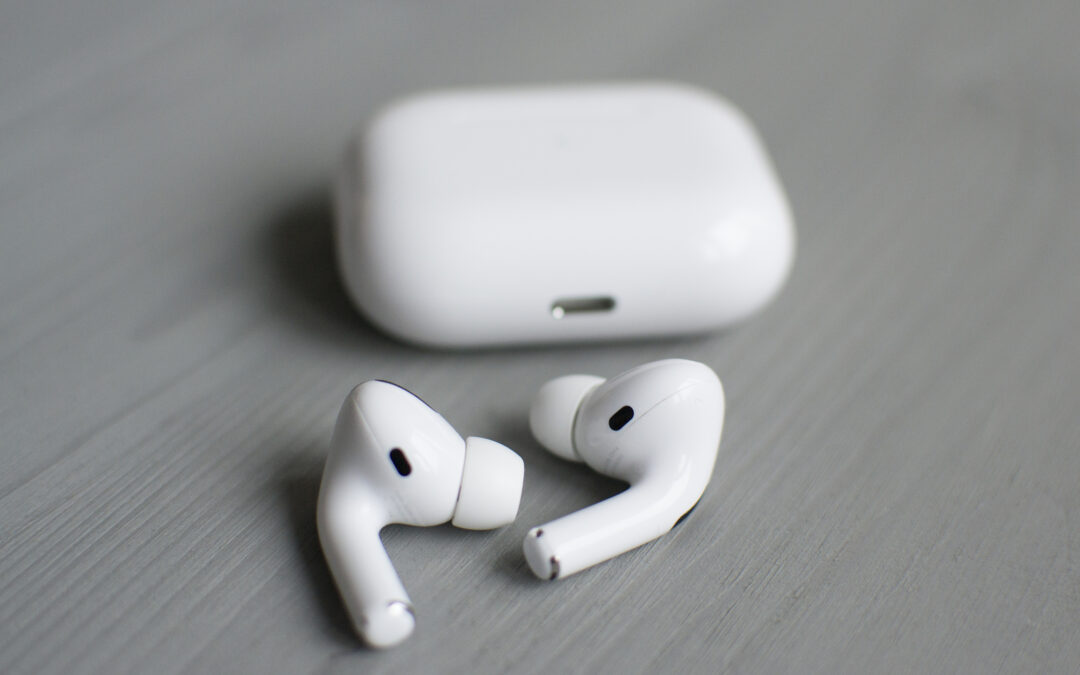
Sometimes when we try to improve something we end up breaking it. I’ve learned that lesson over and over again as a blogger, parent, gadget guy and leader in my company. That doesn’t mean that we keep trying to improve things, but we do have to fix those “improved” things that are now broken. Airpods Pro are amazing. The sound quailty, touch features and comfort are big wins for me. Apple is awesome and almost every improvement that they’ve made in my digital life over the 15 years since becoming an Apple Fanboy has landed for me. …but not with automatic switching. Since about June of 2020 when this feature rolled out, myself and my friends have been complainging about sluggish connectivity of our beloved Airpods and Airpods Pro. The premise of this feature was that for those of us who have iPhones, iPads and MacBook Pros the Airpods would automaticlaly connect to which ever device we were currently using, without the need to manually click the bluetooth connection button. However, it doesn’t work as well as planned. Lost calls, delayed pickups, dropped signal and audio have been incredibly frustrating. I even went out and bought $250 Sennheiser Momentum in-ear buds so that I could listen to music and engage in meetings without the fear of connection issues. It’s not just me, either. A lot of people have become disenchanted with their Airpods and all but abandoned them.
But recently I stumbled on the answer which fixed this Apple Airpods connectivity issues, ended my frustration and made me fall in love all over again. And the best part was that it’s an easy workaround. We just need to make the switching feature manual again. Apple has given us the options within settings. You just have to know how to get to those settings in order for it to work. Below you will find the steps that worked for me and resurrected my use of the Airpods.
iPhone and iPad
In order for the settings you need to chance to show up, you’ll need to connect your Airpods to the device first. Once connected follow the steps below:
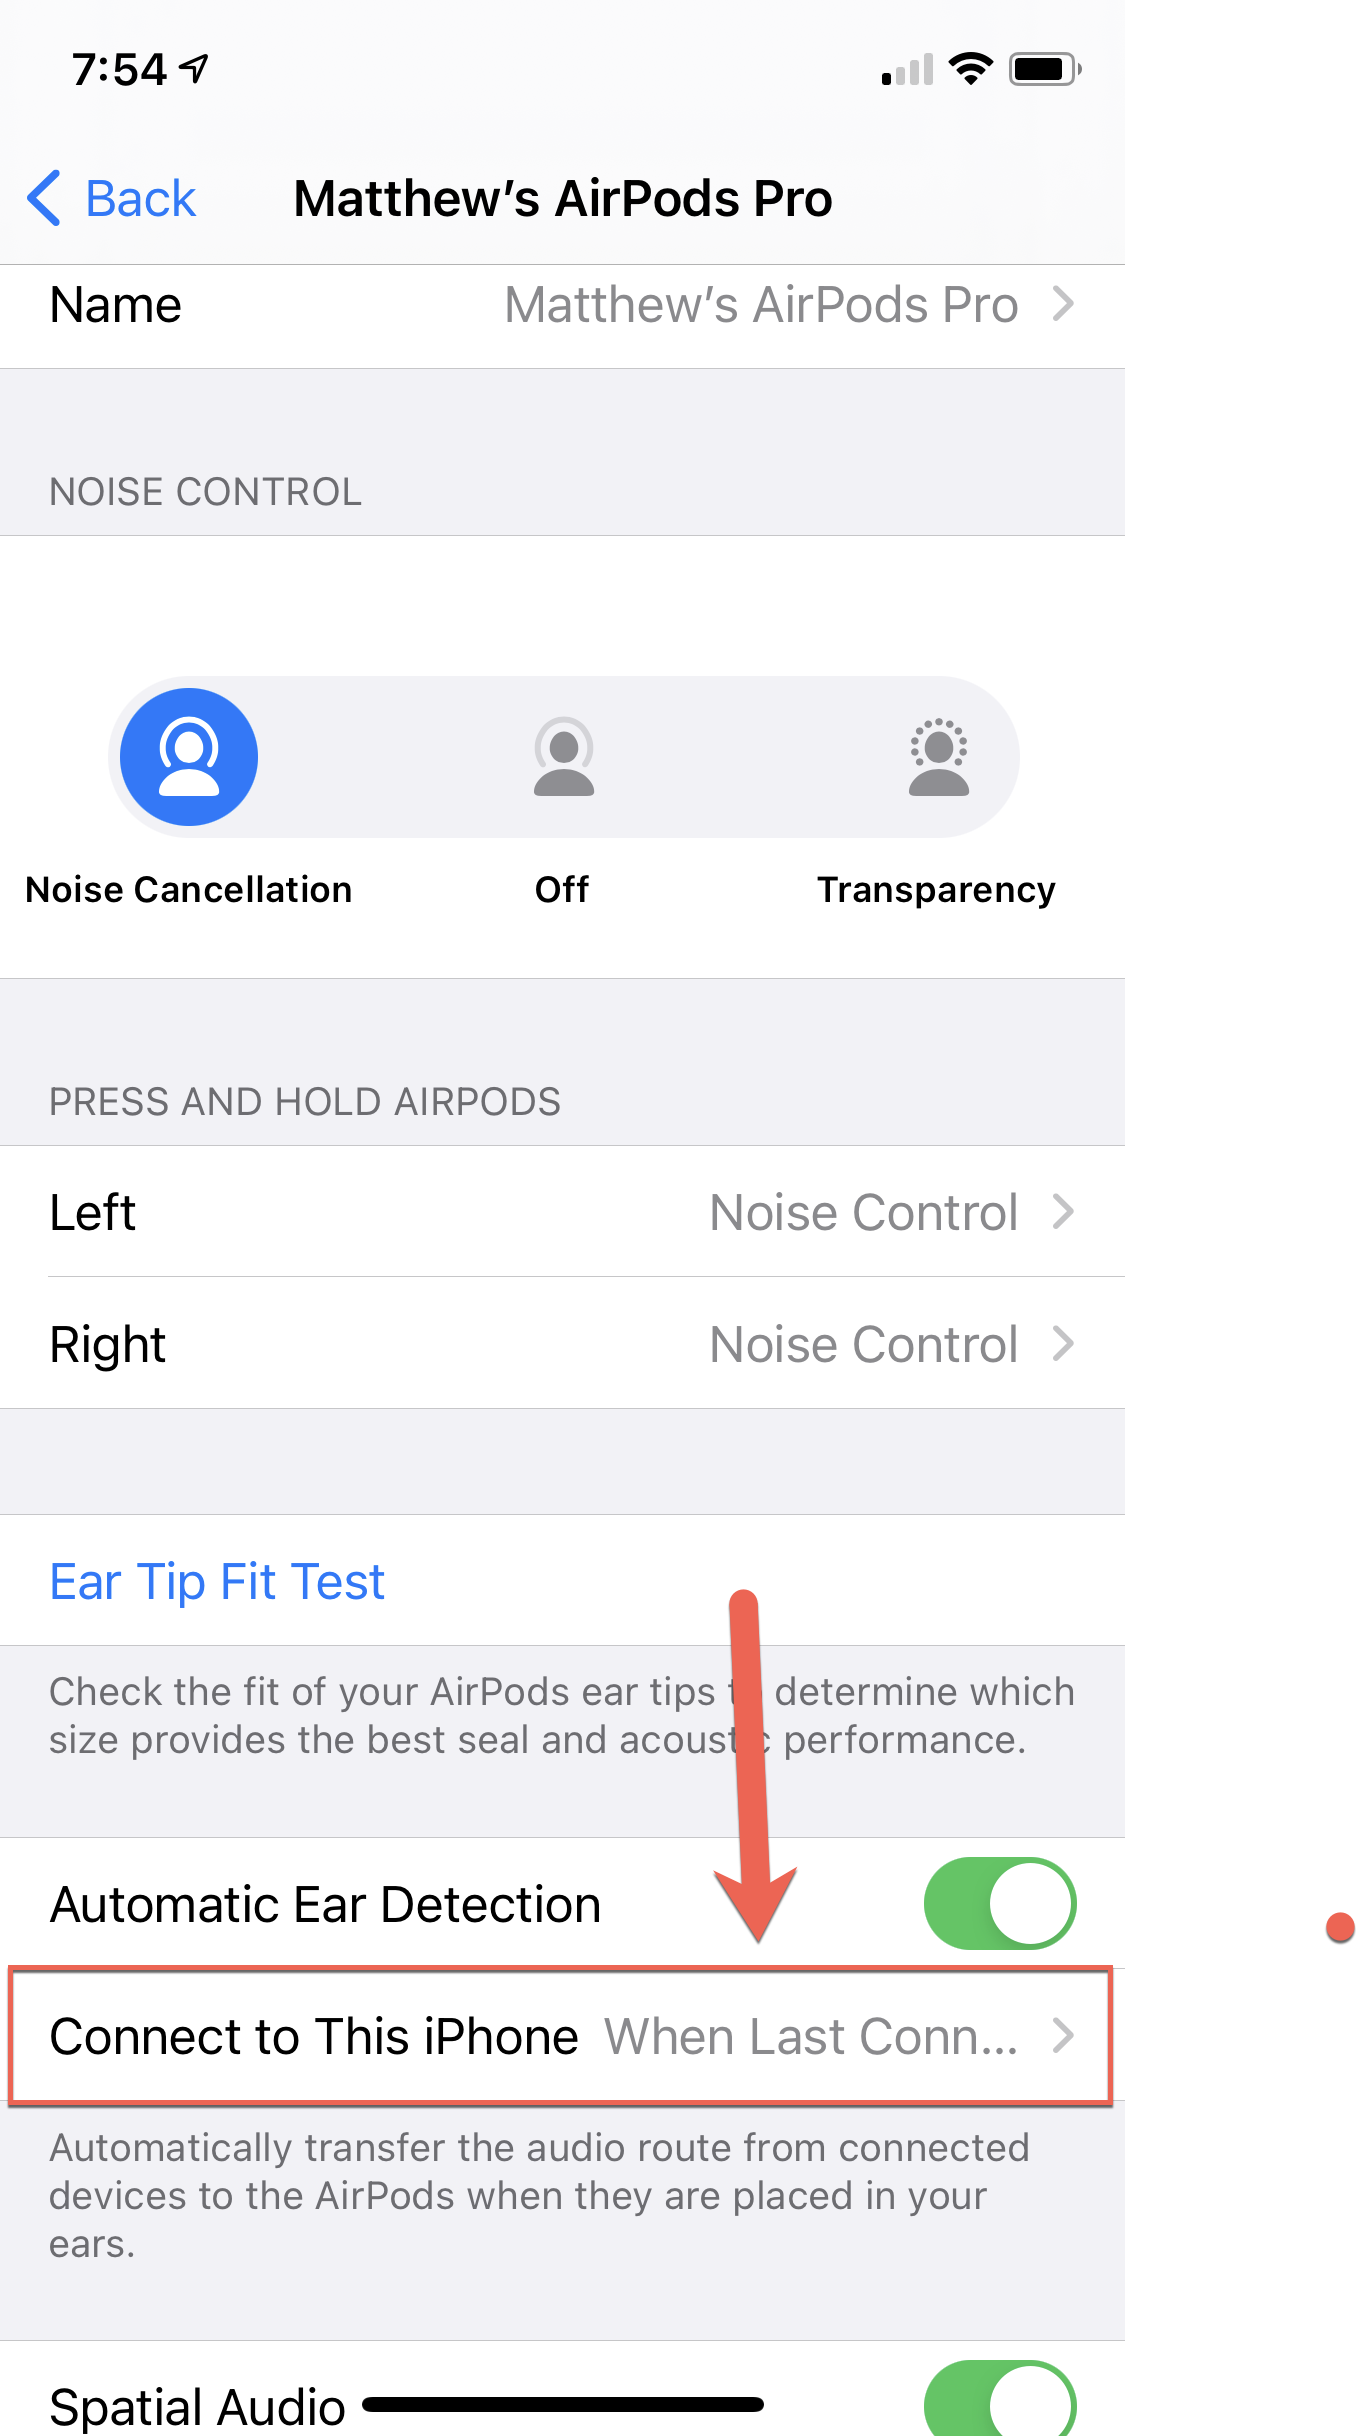
1. Go to “Settings” -> “Bluetooth” and find your Airpods. Then click the small circle with the “i” in it, to the right of the Airpods
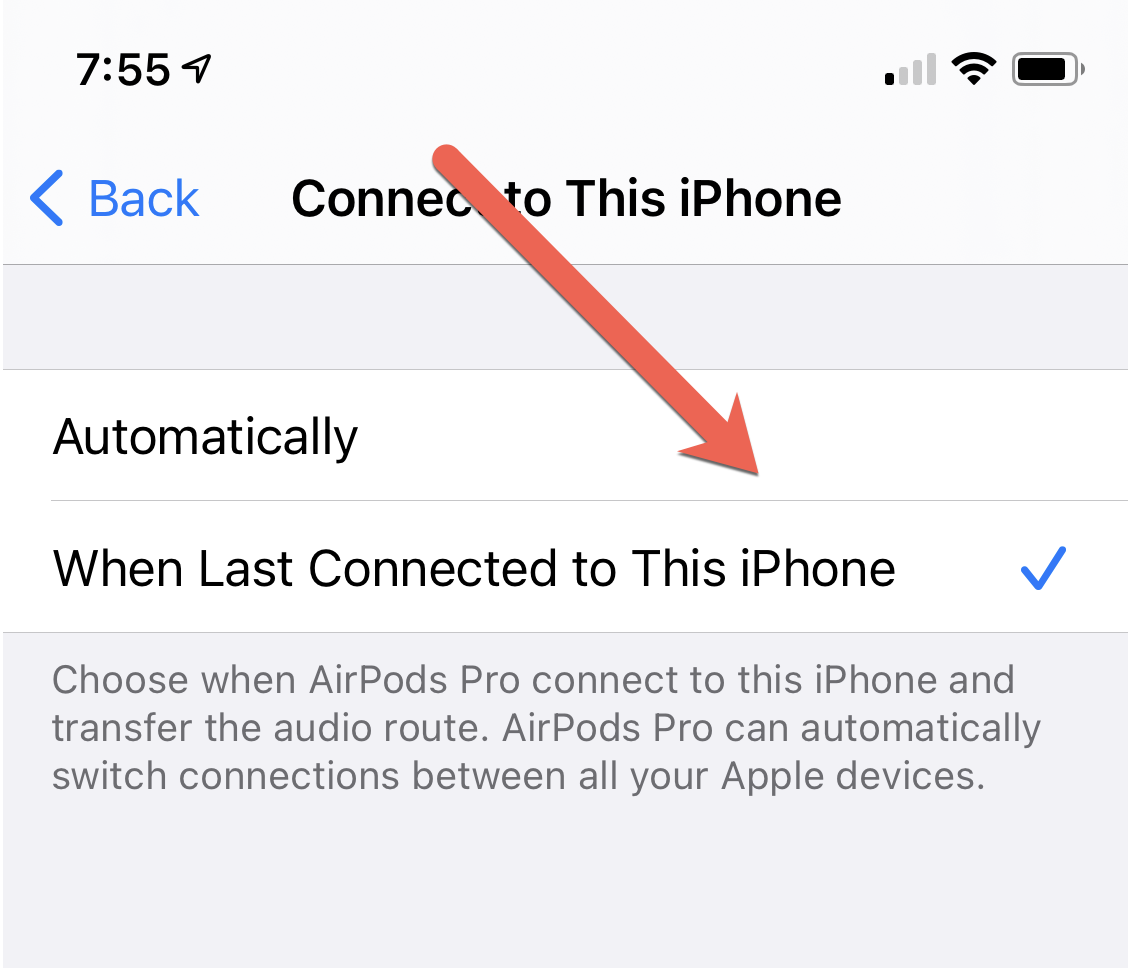
2. Once you’ve clicked the circled i, you will then scroll down and select “Connect to this iPhone” and change the setting to “When Last Connected to This iPhone.
3. Once selected, click the “Back” button at the top of the screen until you’ve excited out of the “Settings’ Menu.
4. Follow these exact same steps on your iPad.
MacOS
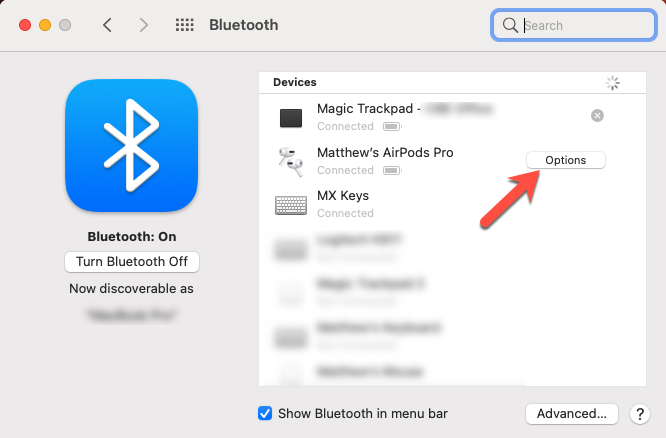
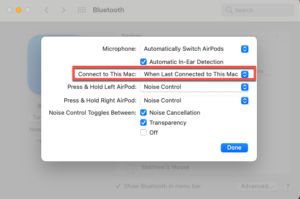
1. On your Mac connect your Airpods, then click on the Bluetooth icon in the Menu Bar at the top of your screen. Then click on “Bluetooth Preferences” at the bottom of the list of connected Bluetooth devices.
2. Find your Airpods in the list of connected devices and click “options”
3. Once in “Options” click on “Connect to This Mac:” and choose “When Last Connected to This Mac” as an option. Then click “Done”.
That’s It (Almost) – Connecting Manually and With A Shortcut
Essentially what we’ve done has been to turn off the autoswitching feature. Now you can manually connect your Airpods just as you did before and they will stay connected to the last device you used them on, until you switch to a different device. And if you’re happy to stop there, thats great. If you’d like to save a few steps and create a shortcut on your iPhone and/or iPad so you can connected with just pressing one icon, then watch the 1 minute tutorial below.




budget-friendly alternative that doesn’t compromise on quality. Excited to see what’s next with the Apple AirPods Pro 2 Copy.